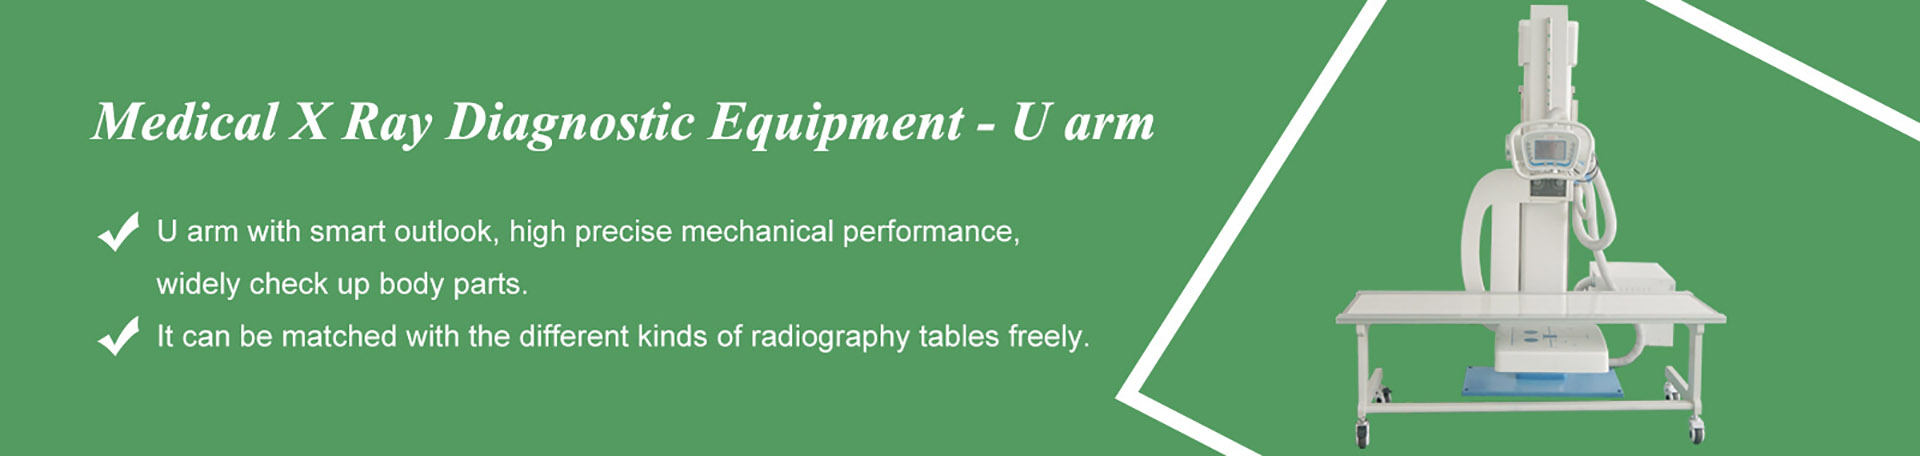

Positioning — not the machine — is the single most common reason a radiograph has to be retaken: imaging-industry quality guides consistently rank patient mispositioning, an off-center X-ray beam and a part-to-detector mismatch above equipment faults. A sickle arm (U-arm) system attacks exactly those three failure points, because its tube and detector hang on one rigid arm that sweeps, rotates and travels around a stationary patient. Used properly, the arm does the walking — and every avoided alignment error is a repeat exposure that never happens.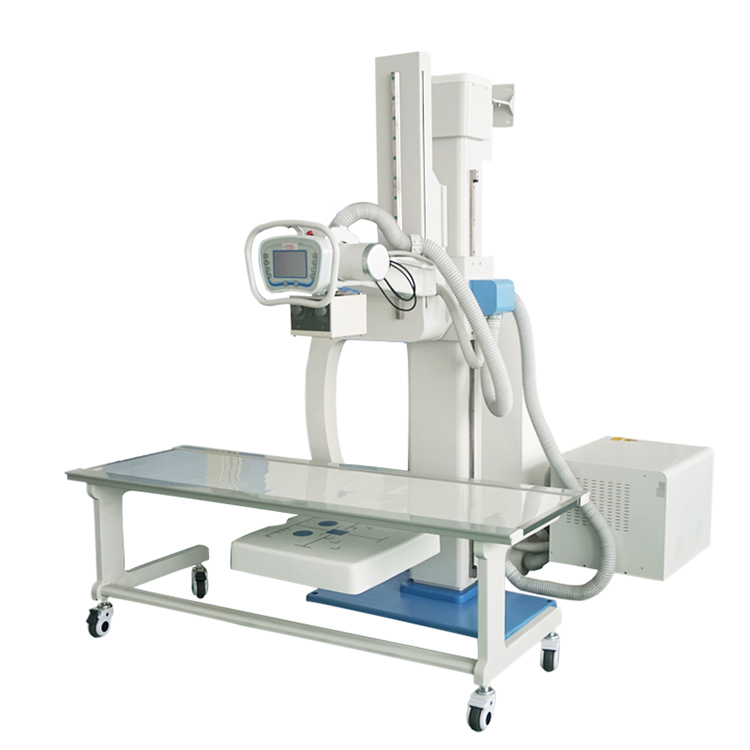
Radiography quality guides put it bluntly: incorrect positioning is the leading cause of repeated exposures and non-diagnostic images. Two geometric failures do most of the damage — foreshortening (the part is angled against the receptor, so bones appear artificially shortened) and elongation (the beam is angled against the part, so anatomy is stretched). Add the three classic technique mistakes that radiography education material keeps flagging — patient rotation (especially costly on chest and spine work), central ray off the region of interest, and the anatomy not aligned with the detector — and you have most of the reject bin explained.
The practical consequence is easy to state: every repeat is double dose for the patient, dead time for the schedule, and an extra argument for the buyer who is auditing your department. Technologist training guides converge on the same five habits — immobilize, align part to detector, center the beam, collimate, give breathing instructions — and a U-arm is built to make four of the five nearly automatic.
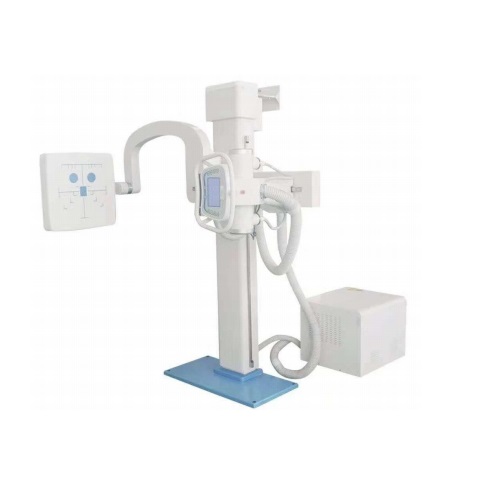
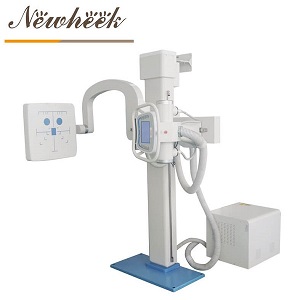
A U-arm is often described by its motion numbers. What those numbers actually buy you is positioning capability. These are the published figures of the current Newheek U-arm platform, translated into what each axis solves:
| Motion | Specification | Positioning problem it solves |
|---|---|---|
| Arm rotation around the column | −30° to +120° | PA, lateral and oblique projections without turning the patient |
| Tube rotation | ±90° | Angling the beam instead of angling a patient in pain |
| Detector rotation | ±45° | Receptor stays square to the beam at every angle — no skew, no geometric distortion |
| Vertical travel | 1,200 mm stroke | From upright chest height down to a seated or table-top position |
| Lowest arm position | 480 mm | Extremity and wheelchair work without transferring the patient |
| SID, motorized | 1,000–1,800 mm | Correct source-to-image distance per exam, at the press of a key |
| Console presets | 3 positions + anti-tip lock at low positions | Repeated exams return to the same geometry — consistency between operators |
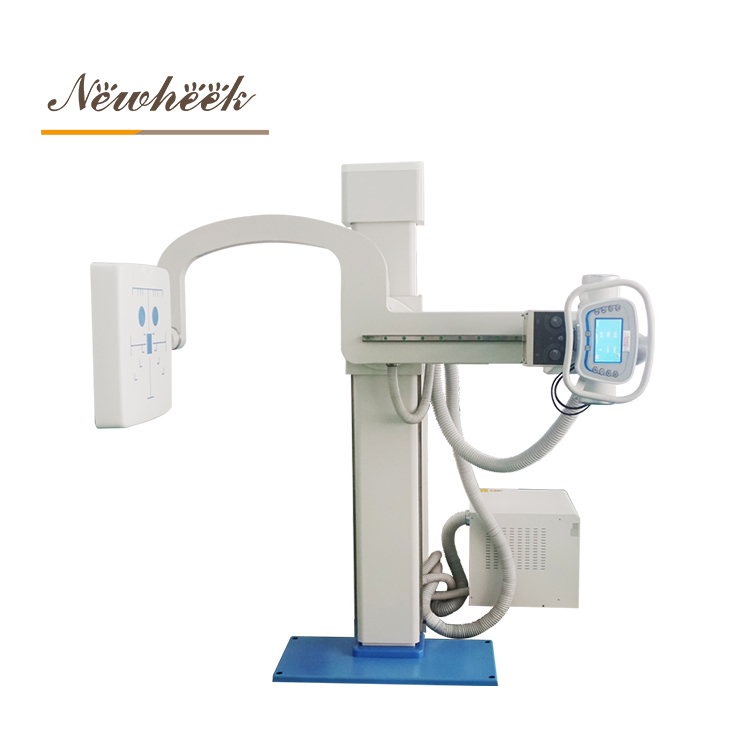
One workflow rule is worth more than any spec sheet, and published orthopedic U-arm technique notes state it plainly: move the arm first, settle the patient second. Pre-judge the projection, drive the arm to the working angle, and only then fine-tune the patient. The goal is the three-point line — tube central ray, region of interest, detector center in one axis. Because both optical ends ride the same arm, the U-arm holds that line while you work, which is precisely the failure mode the arm was invented to remove.
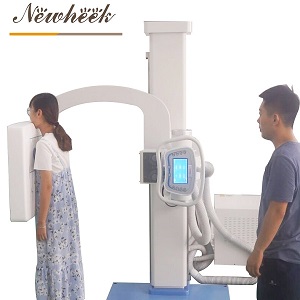
Drive the arm to the wall-bucket position and set the motorized SID to 1,800 mm — the standard focus distance for upright chest radiography. Watch inspiration depth: standard positioning references use at least 10 posterior ribs above the diaphragm as the evidence of a full inspiration, which is the cheapest way to avoid the “under-inhaled, retake” loop. The arm sweep covers PA and lateral chest without the patient ever leaving the bucket.
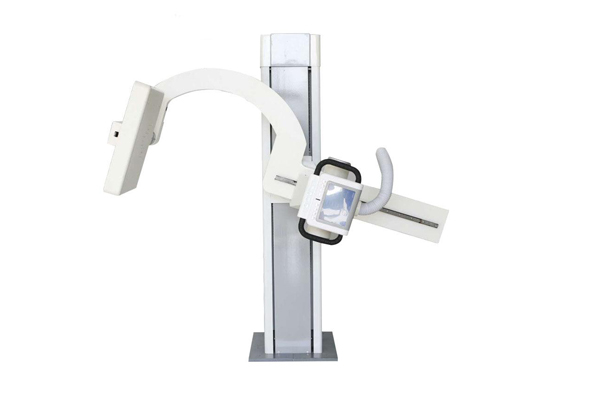
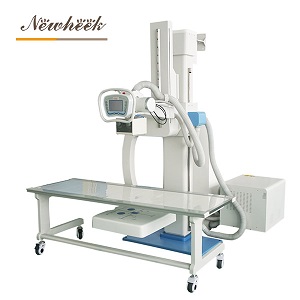
Bring the arm down over the table for supine AP work, then rotate the arm −30° to reach the lateral position without rolling the patient onto a painful side. Centering is the trap here: the lumbar spine sits closer to the table surface than intuition suggests, so aim the central ray slightly posterior of midline for the lateral — and let the part-to-detector alignment check below catch what the eye misses. (For what else the arm covers on spine work, see U-arm DR for lumbar spine.)
The shoulder is the enemy of the lower cervical vertebrae. Published orthopedic technique notes for U-arm systems recommend rotating the detector roughly 20°–30° so the receptor reads past the shoulder line and C7–T1 stops hiding behind it, with the working distance held in the region of 130–150 cm — both well inside the platform’s SID window. Treat these as starting points and confirm against your own protocol and radiologist preference.
Seated shoulder work is where tube rotation earns its ±90°: angle the beam to the projection instead of cranking the patient’s arm into a position the injury will not allow. With the arm low and the patient seated, the 480 mm minimum height brings the detector to seat level, and the anti-tip lock keeps the arm from sweeping low where it could meet a table edge.
For supine pelvic work the arm parks over the table with the beam straight down; for frog-lateral hip views the same published technique notes recommend pre-judging the position — arm to the angle first, then abduct the limbs. Trauma and post-operative patients cannot be “re-positioned” repeatedly; the detector rotation range exists precisely so the receptor meets the patient’s existing position, not the other way around.
Quality guides suggest departments track their reject rate and analyze the causes — the log only helps if each retake is checked against the same short list before the second exposure is even made:
Five checks, under a minute, and most “equipment” complaints about image quality dissolve into positioning habits — which cost nothing to fix. For the operating discipline around the machine itself (warm-up, duty cycle, gentle handling of the moving arm), see precautions during use of a sickle arm.
Positioning capability is bought, not hoped for. These are the checkable lines:
For the configuration that matches your examination mix, start from the multifunctional U-arm radiography system product page or the full sickle arm explainer — and if budget is the next question, the transparent cost breakdown is here: What does a U-arm X-ray system cost in 2026?
Positioning. Imaging-industry quality guides rank patient mispositioning, an off-center beam and part-to-detector misalignment ahead of equipment faults as the leading causes of non-diagnostic images and retakes.
The tube and detector hang on one rigid arm, so they stay in fixed alignment while the arm rotates and travels. The machine moves around the stationary patient instead of the patient being re-positioned under a fixed tube — fewer manual alignments, fewer geometric errors, fewer repeats.
Tube central ray, the region of interest and the center of the detector should sit on one line. On a U-arm, drive the arm to the working angle first, settle the patient second, and verify the light field covers the anatomy before exposing.
Use the console presets so repeated exams return to the same geometry, apply the five-point self-check before every repeat exposure, and keep a reject log by cause. Consistency between operators — not new hardware — removes most positioning-related retakes.
Yes. The −30° to +120° arm sweep, the 1,200 mm vertical stroke and the motorized SID carry the same tube-detector pair from an upright wall-bucket chest position down to supine table work — one room, one installation, both geometries.
Tell us your examination mix — chest, spine, extremities or a trauma-heavy caseload — and we will show how the arm geometry maps onto it. Fill in the inquiry form in our Contact Us module with your name, email, country and requirements, and our product manager will get back to you as soon as possible (within 24 hours on working days, Monday–Saturday) with a configuration recommendation. You can also reach us directly at admin@newheek.cn or WhatsApp +86 19062611512.
Tel: +86 19062611512
Email : admin@newheek.cn
Company : Weifang Newheek Electronic Technology Co., Ltd.